
Epoxy flooring is a favorite for homes and businesses. It's tough and looks great. You can use it in garages, kitchens, retail spaces, and warehouses. It works anywhere you need a floor that can take a beating and still look good.
If you're a homeowner, real estate investor, small business owner, property manager, or new construction builder in Castle Rock, you want flooring that lasts. Something that won't need constant repairs. Looking for Local Flooring Contractor Castle Rock you can trust for professional service.. Epoxy is a good choice. It can handle heavy foot traffic, dropped objects, and even some chemical spills. Plus, it's easy to clean.
But epoxy flooring isn't just paint. It's a system. If you mess up the install, you're going to have problems. Bubbles, peeling, and uneven surfaces can occur. Understanding the common mistakes matters. Knowing what *not* to do can save you time, money, and headaches. Let’s look at some frequent mistakes people make when installing epoxy floors, and how you can avoid them.
When it comes to epoxy flooring, you have options. It is not a one-size-fits-all solution. First, there is self-leveling epoxy. This works well on uneven or damaged floors since it makes a smooth surface. Consider showrooms, garages, or commercial kitchens.
Next, you have epoxy mortar. These are very tough. They provide heavy-duty protection for floors that undergo wear and tear, such as manufacturing plants or warehouses with forklifts.
Also, consider flake epoxy. Here, you add decorative flakes into the epoxy while wet. This adds color and texture and hides flaws. Many like this for garages or retail spaces since it looks good and remains durable.
Picking the right system matters. You would not put flake epoxy where you need epoxy mortar, right? For a restaurant kitchen, you need something that handles spills, heat, and constant cleaning. A self-leveling system with chemical resistance may work best. For a garage where someone wants it to look good and be easy to clean, flake epoxy might work. It depends on how the floor will be used. Do not pick one just because you like the look. Think about the environment.
Surface preparation is critical for successful epoxy flooring. Think of it as the base of your project. If you skip steps or do a poor job here, you set yourself up to fail, no matter how good your epoxy is. You might see adhesion problems, bubbling, or the coating peeling off. It costs time and money to fix later, so get it right from the start.
The first step is cleaning. You must remove any dirt, oil, grease, or anything else that could prevent the epoxy from bonding. A simple sweep is not enough. You likely need to use a degreaser and scrub to get the surface clean. After cleaning, rinse the floor and let it dry. Any lingering contaminants cause problems. This is a must before grinding.
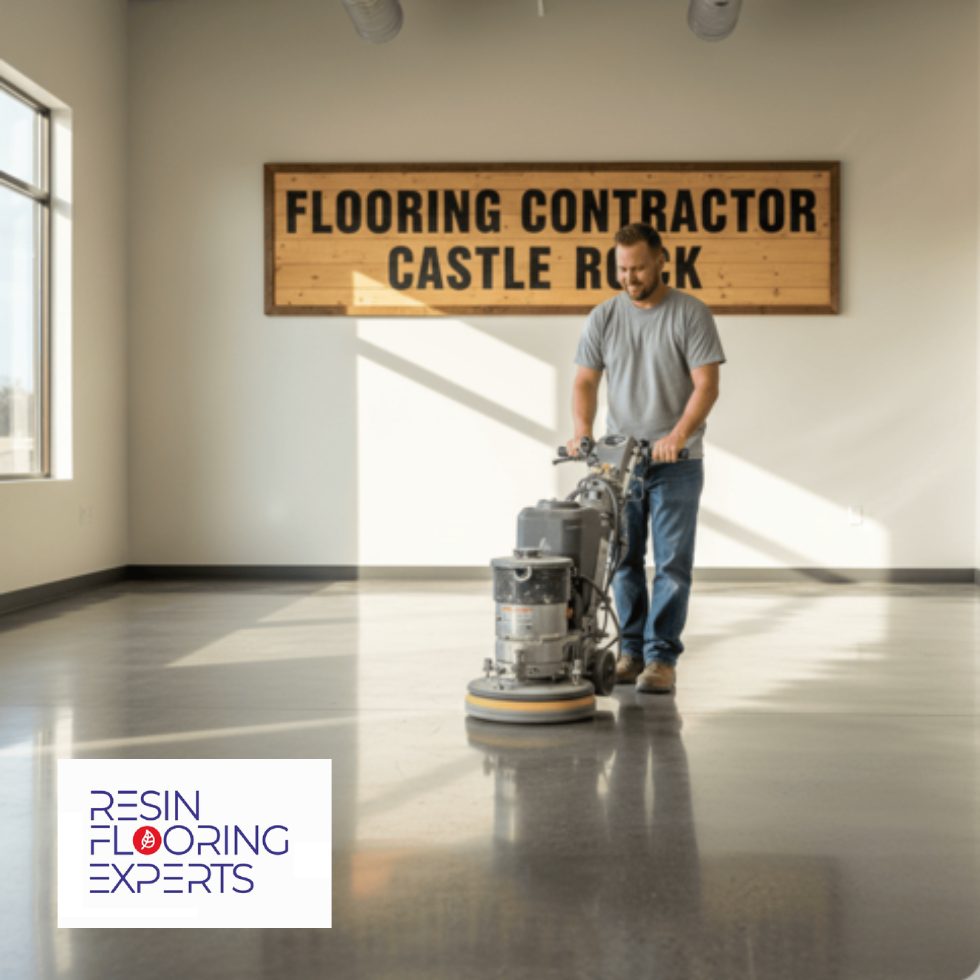
Grinding the concrete creates a surface the epoxy can grab. It is like roughing up the surface so the epoxy has something to bite into. Use a concrete grinder with diamond grinding pads. The grit you use depends on the floor's condition, but start with a coarser grit and work to finer ones. The goal is a uniformly rough surface, free of loose particles or coatings.
Before applying epoxy, fix any cracks, holes, or other problems in the concrete. Use a concrete patching compound to fill these in and make the surface smooth. Let the patching compound dry according to the instructions, and then grind it down to be even with the concrete. Ignoring these problems results in an uneven epoxy finish that may crack.
After grinding and patching, you must remove all the dust. Use an industrial vacuum with a HEPA filter to vacuum the surface. Then, tack the floor with a damp mop to pick up any remaining fine dust. If you skip this step, the dust gets trapped in the epoxy, creating a cloudy and weak bond. Cleanliness is key for a strong epoxy floor.

Let’s talk about mixing epoxy. This is important. Don’t just guess. The manufacturer's mixing ratios are key. If it says 2:1, make it 2:1.
For small jobs, use graduated mixing cups. They are affordable and precise. For larger projects, consider a pump system. These systems measure the epoxy and hardener automatically, so you get the correct ratio. This makes things easier when working with large areas.
What if you mess it up? Many problems arise. Too much hardener can cause it to cure too fast and crack. Not enough hardener can cause soft spots that never harden. It might stay sticky. No one wants that.
Also, mix well! Scrape the sides and bottom of the bucket. Be sure everything is blended. Otherwise, you'll get unmixed spots that don’t cure right. A few extra minutes mixing is better than redoing the floor.
Temperature and humidity matter when you install epoxy. These factors affect how epoxy cures. Epoxy relies on a chemical reaction, and those reactions respond to the environment.
If it is too cold, the epoxy might not cure right. You could get a soft, sticky mess. If it is too humid, you risk blushing, which is a hazy, white film on the surface. It looks bad, and it hurts the floor.
In Castle Rock, temperatures change a lot. You want temperatures between 60°F and 80°F (15°C and 27°C) while the epoxy cures. Keep humidity below 80%. That can be hard.
What can you do? For temperature, use portable heaters or fans. For humidity, get a dehumidifier. Buy a hygrometer, which measures humidity. Do not guess; know the levels. Check the concrete slab temperature, not just the air temperature. The slab can hold cold or heat longer than the air and skew your readings.
Also, check the manufacturer's advice for your epoxy. They list the best temperature and humidity ranges. Ignoring them invites problems.
Getting the epoxy thickness right matters. Don't just slap it on and hope for the best. If you don't put enough epoxy down, you invite problems.
Here is why: Epoxy's durability and resistance to impacts rely on enough material. Too thin, and you'll see wear early. Scuffs and scratches will show up faster. Plus, it won't stand up to impacts well. A dropped tool could easily chip a thin epoxy coating, a headache you don't need.
So, how do you make sure you're getting the right thickness? Read the manufacturer's instructions. They'll tell you the recommended thickness for the epoxy you're using. Don't skip this! Then, use a gauge to check the wet film thickness as you're applying it. Simple tools exist for this, and they're helpful. Keep checking as you go to make sure you're staying on target. Also, keep an eye on your coverage rate. If you're using way more material than expected, you're probably putting it on too thick. If you’re using less, it’s likely too thin. Checks are key to getting a uniform and durable finish.
Let's talk about air bubbles. No one wants them in their epoxy floor. They’re annoying, and they can weaken the coating. What causes them? A few things do.
First, mixing the epoxy wrong matters. If you whip it too fast, you create a bubble bath. Go slow. Also, if the concrete underneath is porous, air can get sucked out as the epoxy settles. Think of a sponge. Thick epoxy also traps air more easily because the bubbles can't rise and pop before it hardens.
How do you fix it? Prevention helps. After mixing, let the epoxy sit for a few minutes to de-gas. You’ll see some bubbles rise. For porous floors, a primer coat works well. It seals the concrete and stops the air from coming up.
If you still get bubbles, a spiked roller can help. Roll it over the wet epoxy. The spikes pop the bubbles. You can also use a heat gun carefully. A quick pass can make the bubbles rise and pop, but don't overdo it or you'll scorch the epoxy. Getting the mix right and using a primer often works, so you don't have to stress too much about fixing it later.
When it comes to epoxy flooring, you can't just grab any bucket and start applying. There are many different epoxy types, and picking the wrong one spells trouble.
For example, water-based epoxies work well for DIYers and lighter use areas because they have low odor and are easy to apply. But if you're dealing with a commercial kitchen or a factory floor that sees heavy traffic and chemical spills, you need something tougher, like a 100% solids epoxy or a novolac epoxy. These are the real workhorses.
Consider what the floor must handle. Chemical resistance matters in labs and manufacturing plants. Make sure the epoxy can stand up to acids, solvents, or other harsh chemicals. Flexibility matters in areas prone to impacts or temperature changes; a flexible epoxy can absorb stress without cracking. What about abrasion resistance? It is important in high-traffic areas like warehouses or retail spaces. You don't want the floor wearing away quickly.
Also, consider slip resistance. You can add aggregates to the epoxy to make it less slippery, which is a must for safety in many workplaces. It comes down to matching the epoxy's performance to the demands of the environment. Get that wrong, and you'll be redoing the floor soon.
Want epoxy flooring that lasts and looks great? It's more than just floor paint. Planning matters. How will you use the floor? Will there be heavy foot traffic or chemicals? This helps decide the epoxy type you need.
Prep work is where many people fail. The concrete must be clean. Fix any cracks or damage. If not, the epoxy won't bond, and peeling will happen later. Moisture hurts. Test the concrete for moisture first.
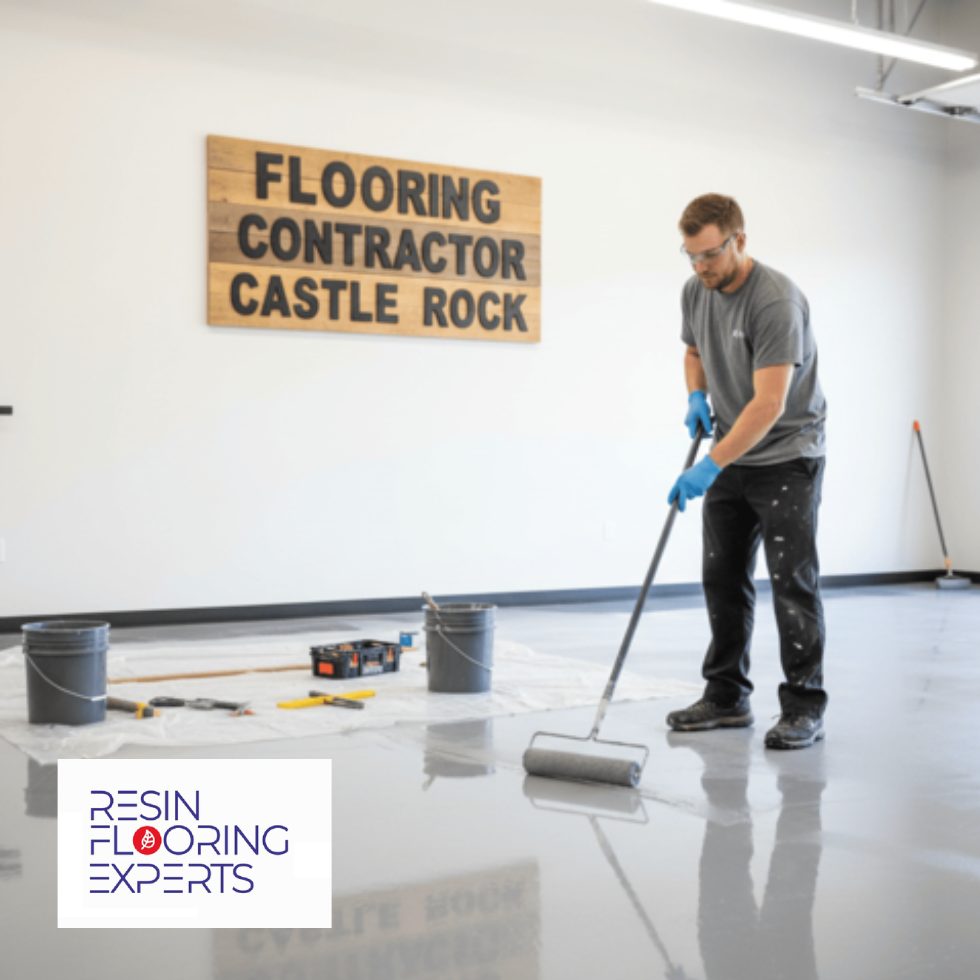
Application also needs attention. Follow the maker's directions exactly. Weather matters, so check it. Mix things right. If you don't, the epoxy might not set. Thin coats work better than one thick coat. This stops bubbles and makes a stronger bond.
Care keeps things going. Clean spills fast. Use the right cleaners. Strong stuff can hurt the epoxy. Think about a top coat for more protection, mostly where people walk a lot.
Need the right contractor in Castle Rock? Ask for references. Check their past work. A good contractor knows this and will guide you. Don't just pick the lowest price. Doing it wrong will cost more later.
Let's examine some real-world examples. These show how epoxy flooring can make a big difference.
First, consider a home garage in Castle Rock. The homeowner grew tired of the dusty, cracked concrete. We prepped the floor, filled the cracks, and applied a metallic epoxy coating. The result? A showroom-ready garage that is easy to clean and reflects light, making the space feel bigger. Proper prep work is key. Without it, the epoxy would have cracked with the concrete.
Next, a local restaurant owner had issues with stained and damaged tile in the kitchen. We installed a heavy-duty epoxy system with good chemical resistance. Now, spills are no problem, and the floor handles foot traffic and cleaning. They chose epoxy because it is more hygienic and easier to maintain than tile in a commercial kitchen.
Finally, consider a warehouse project. The builder needed a floor that could handle heavy machinery. We installed a self-leveling epoxy floor with a glossy finish. This created a lasting, smooth surface that is easy to clean and improves the space's look. Also, it helps with safety because it is slip-resistant. In each case, the right epoxy system and careful installation solved problems and gave lasting results.
You have a great epoxy floor, and you want to keep it that way. Maintenance matters. Think of it this way: You wouldn't install a new engine in a car and never change the oil. It's the same here.
For cleaning, simple works best. A regular mop with warm water and mild detergent will work for most messes. Avoid anything too harsh, like scouring pads or abrasive cleaners. Those can dull the finish. Clean spills fast, especially anything acidic like juice or coffee. Letting those sit can stain the epoxy.
Now, for protection. Use mats at entrances to trap dirt before it gets to the epoxy. In busy areas, think about applying a wax coating. This adds extra protection that you can reapply.
What about repairs? Even with great care, dings happen. Small scratches can often be buffed out. For deeper chips or cracks, use an epoxy repair kit. Follow the instructions, and you can usually patch things up. Ignoring small damage can cause bigger problems later, like moisture getting under the epoxy and causing it to lift. No one wants that.
Epoxy flooring can be a great choice when done well. You get a very tough, long-lasting surface that looks good. It resists chemicals, stains, and heavy impacts, so it holds up. For homes, that means worry-free floors in garages, basements, or even kitchens. For businesses, this flooring can handle forklifts, foot traffic, and more. The smooth finish is easy to clean and can brighten a space.
But here is why installation matters. Poor installation can cause peeling, bubbles, or a finish that does not last. Fixing this can be frustrating and costly.
So, if you want epoxy flooring for your home or business in Castle Rock, let’s talk. A professional helps you get the lasting, attractive floor you want. Contact local flooring contractors who know what they are doing. They can check your space, prep the surface, and apply the epoxy correctly. This is an investment that pays off.